
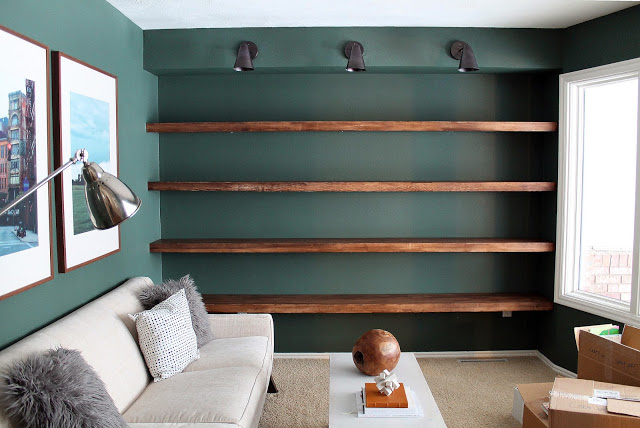
DIY Solid Wood Wall-to-Wall Shelves
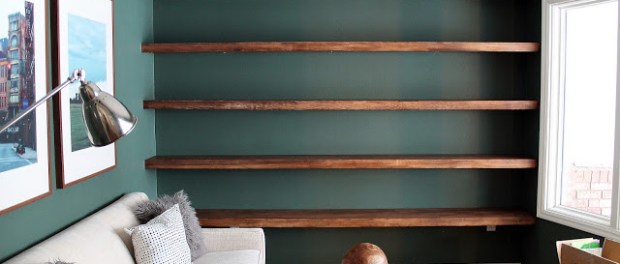
DIY Solid Wood Wall-to-Wall Shelves Project by Chris and Julia Marcum
What Was Used:
4–10 3/4″ deep x 2 1/2″ thick x 10′ long boards of Douglas Fir. (We special ordered these from our local lumber yard for $33 each)
100 grit sandpaper
Minwax Gel Stain in Walnut
Satin Polycrylic
20–2″x5/8″inside corner brackets
40–2″screws
40–3/4″ screws (came with the inside corner braces we bought from Ace)
16–heavy duty anchors
Miter Saw
Palm sander
Router
DeWalt impact driver
Level
Stud Finder
Hammer
Philips screwdriver
Pencil
The Process:
We special ordered the boards because we wanted them a little thicker, and we wanted squared edges. We were pleasantly surprised at how inexpensive they were. Even still, the ends were a little rough and uneven, which we expected, so the first step was to square the edges and cut them to fit on the wall exactly. For this, we used a miter saw. The blade wasn’t big enough to cut through the whole board, so Chris cut half, flipped the board, lined up the blade with the first cut, and finished cutting through.
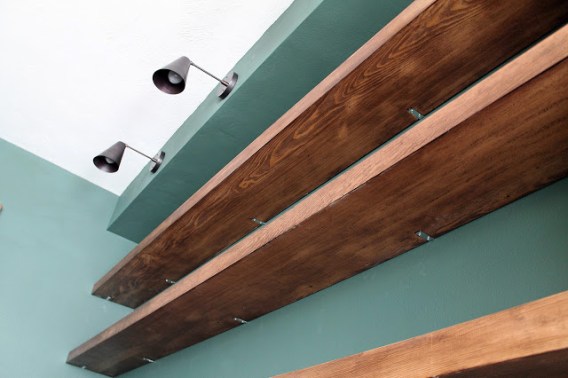
Even though we wanted the shelves to look like they were floating (ie, no visible brackets), we knew that would be difficult to achieve with the size of boards we were dealing with. The boards were really heavy. So we picked up these 2 inch metal angle brackets. These worked perfect, because they were short enough to hide behind the 2.5 inch boards, but strong enough to hold the weight without bending. Something this short wouldn’t work if just holding from the back wall, but since we were putting the shelves wall-to-wall, we could have one bracket on each end to prevent the boards from sagging forward. So after cutting the boards to size, we measured the wall and found 3 somewhat evenly-spaced studs that we could connect the brackets straight into. Unfortunately, there weren’t any studs where we needed them to be on the sides, so we found some heavy-duty wall anchors, each rated to hold up to 75 pounds. We would have two anchors supporting each side bracket (a total of 4 anchors in the 2 side brackets for each board), and coupled with the back-wall brackets mounted directly to the studs, this would give us plenty of support.
After taking the measurements and deciding where the brackets would mount on the back wall, we marked these locations on our boards and routed spaces out so the brackets could set inside the boards, making them flush and less visible. You need to take the measuring part of this step serious, because the brackets are hung on the wall before you place the shelves. This means your routed out spaces need to match perfectly with where the brackets are mounted. We’ve all heard the advice to “measure twice, cut once.”
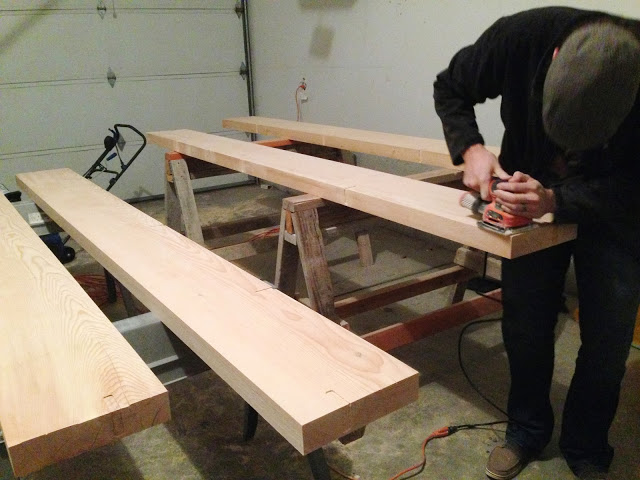
After deciding the best way to stain the boards, we sanded them smooth with a palm sander, equipped with 100 grit sandpaper–being careful not to over-sand, because that can impact Douglas Fir’s ability to accept stain. So we took our time to get it right.
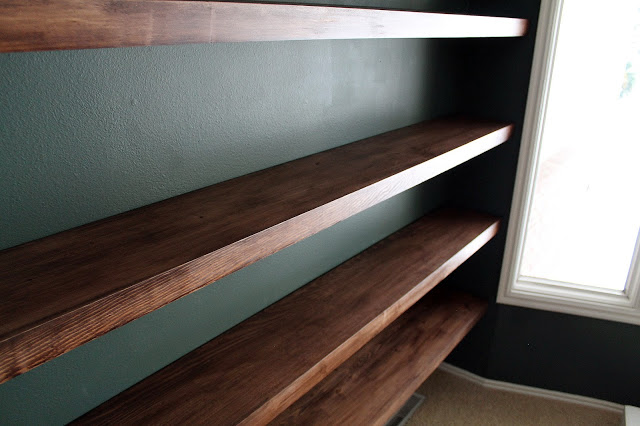
The gel stain worked perfectly. We spread it on nice and thick, wiped it off with rags and paper towels, and let each coat cry for 8 hours. We did two coats of stain, plus a layer of water-based satin polycrylic–which gives off a nice low-lustre sheen. Nothing too shiny, just protects.
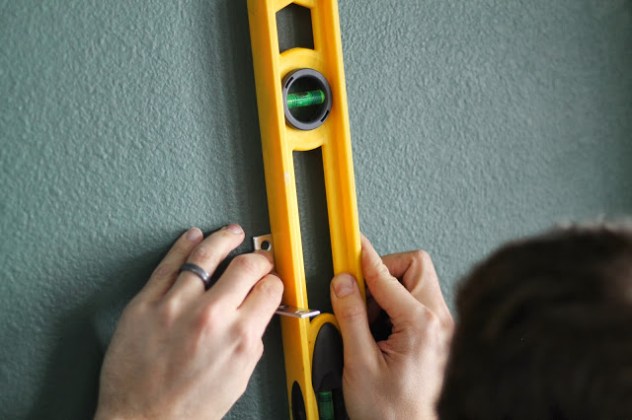
Making sure the brackets are level on the wall
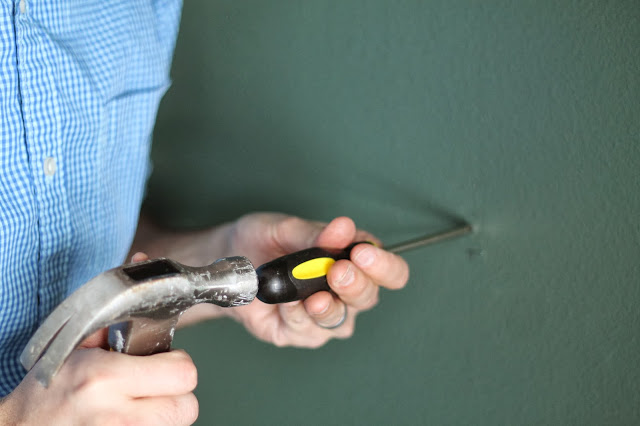
Tip: Hammer a phillips screwdriver (or nail) just once before drilling a screw so it doesn’t wobble when driving

Anyway, back to it. We measured the predetermined locations for the brackets several times, drew lines, and mounted them with 2″ screws. The new driver worked perfectly and the brackets were solid. But the big unknown was if the brackets would line up with the routed slots in the shelves. We grabbed the boards, lifted them up…

They matched up perfectly. The shelves were level. The last step was just driving 3/4″ screws into the underside of the shelves to secure them in place. And then stand back and pat ourselves on the back.

Leave a comment