
Holiday Marquee Tutorial

Supplies:
SKILSAW
Brad Nailer
Palm Sander
Drill with bits
Clamps
Loctite Power Grab Clear All Purpose Construction Adhesive
LED Battery Operated Globe Light Set
1/2″ MDF (we used 2×2 sheet)
1/4″ Plywood (we used a scrap from the garage but 2×2 would work for this sized sign)
You should start your marquee by cutting your 1/2″ MDF board to size (circular saw An easier step would be to buy a board in a size that you can make work.
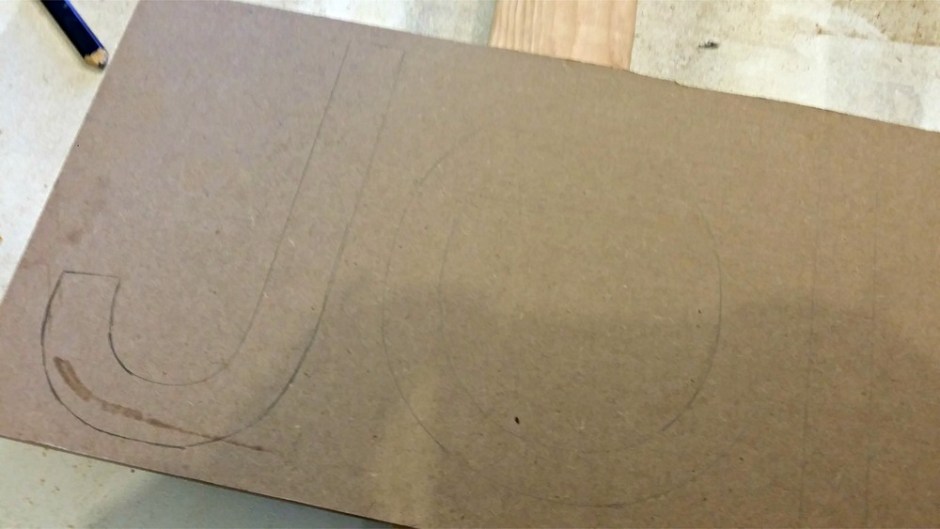
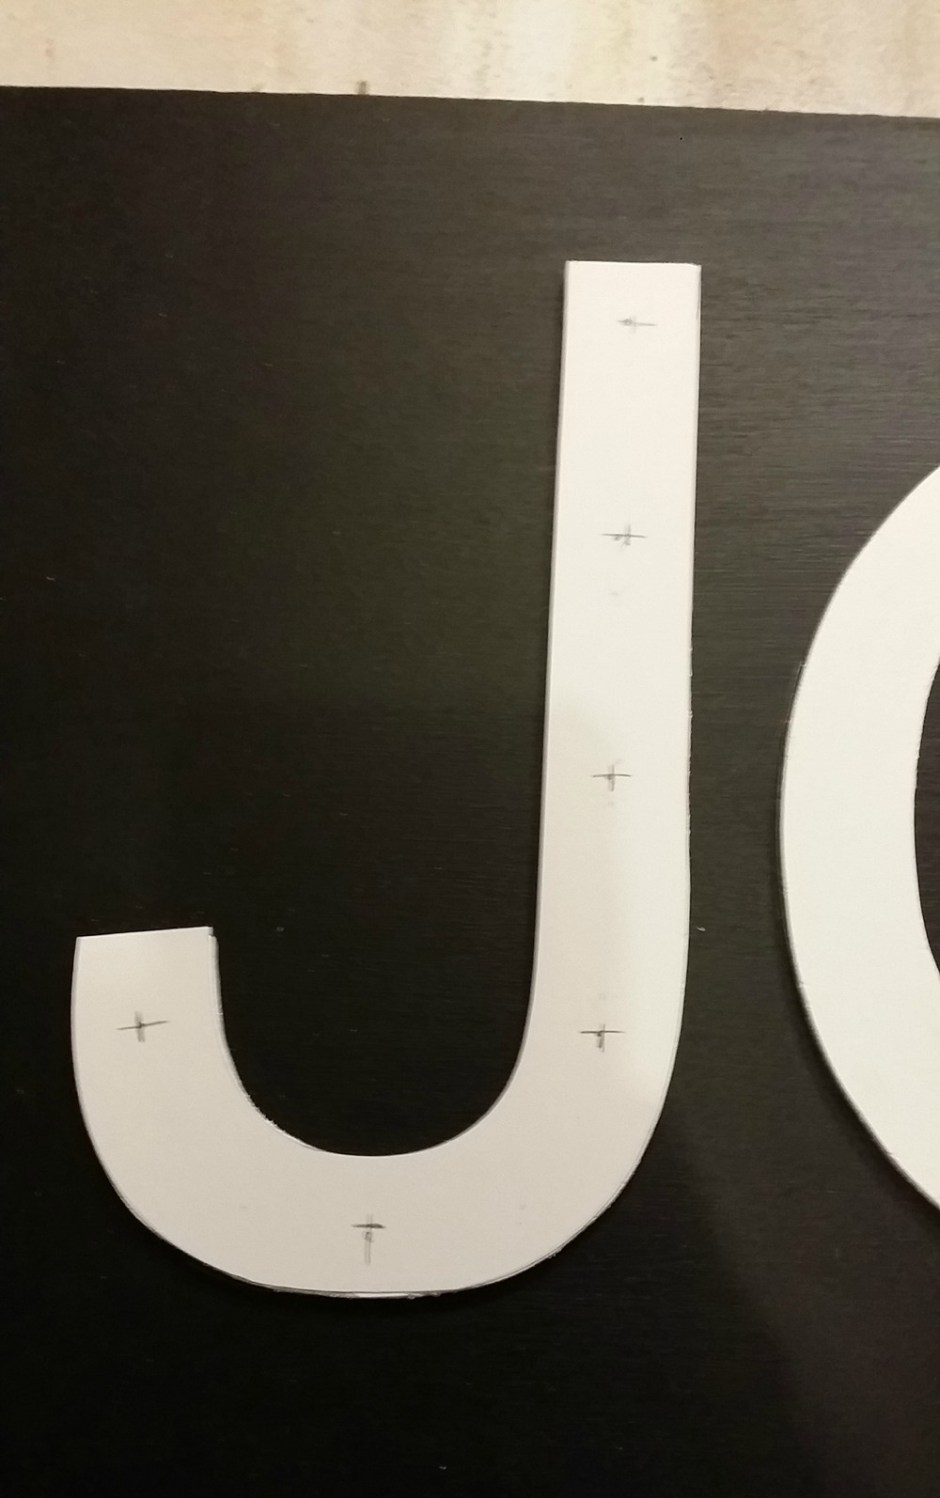
Next trace your letters onto 1/4″ plywood. You could use a silhouette or a print letters off a word document. Honestly, if I was to do this again I would probably just by pre-cut letters.
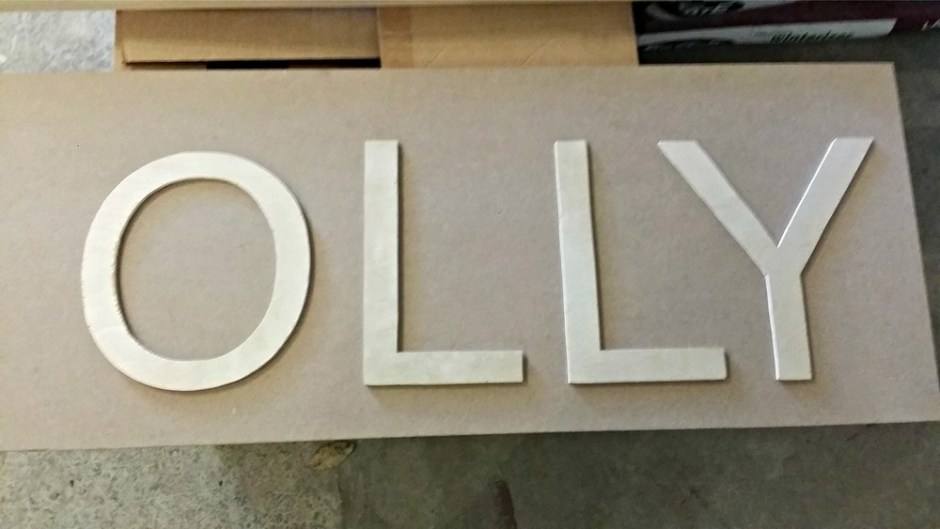
Once your letters are cut, use a palm sander to smooth out the edges.
Next paint the back board with chalk paint and the letters with white paint. Chalk paint has a nice matte finish and is very forgiving with sawdust.
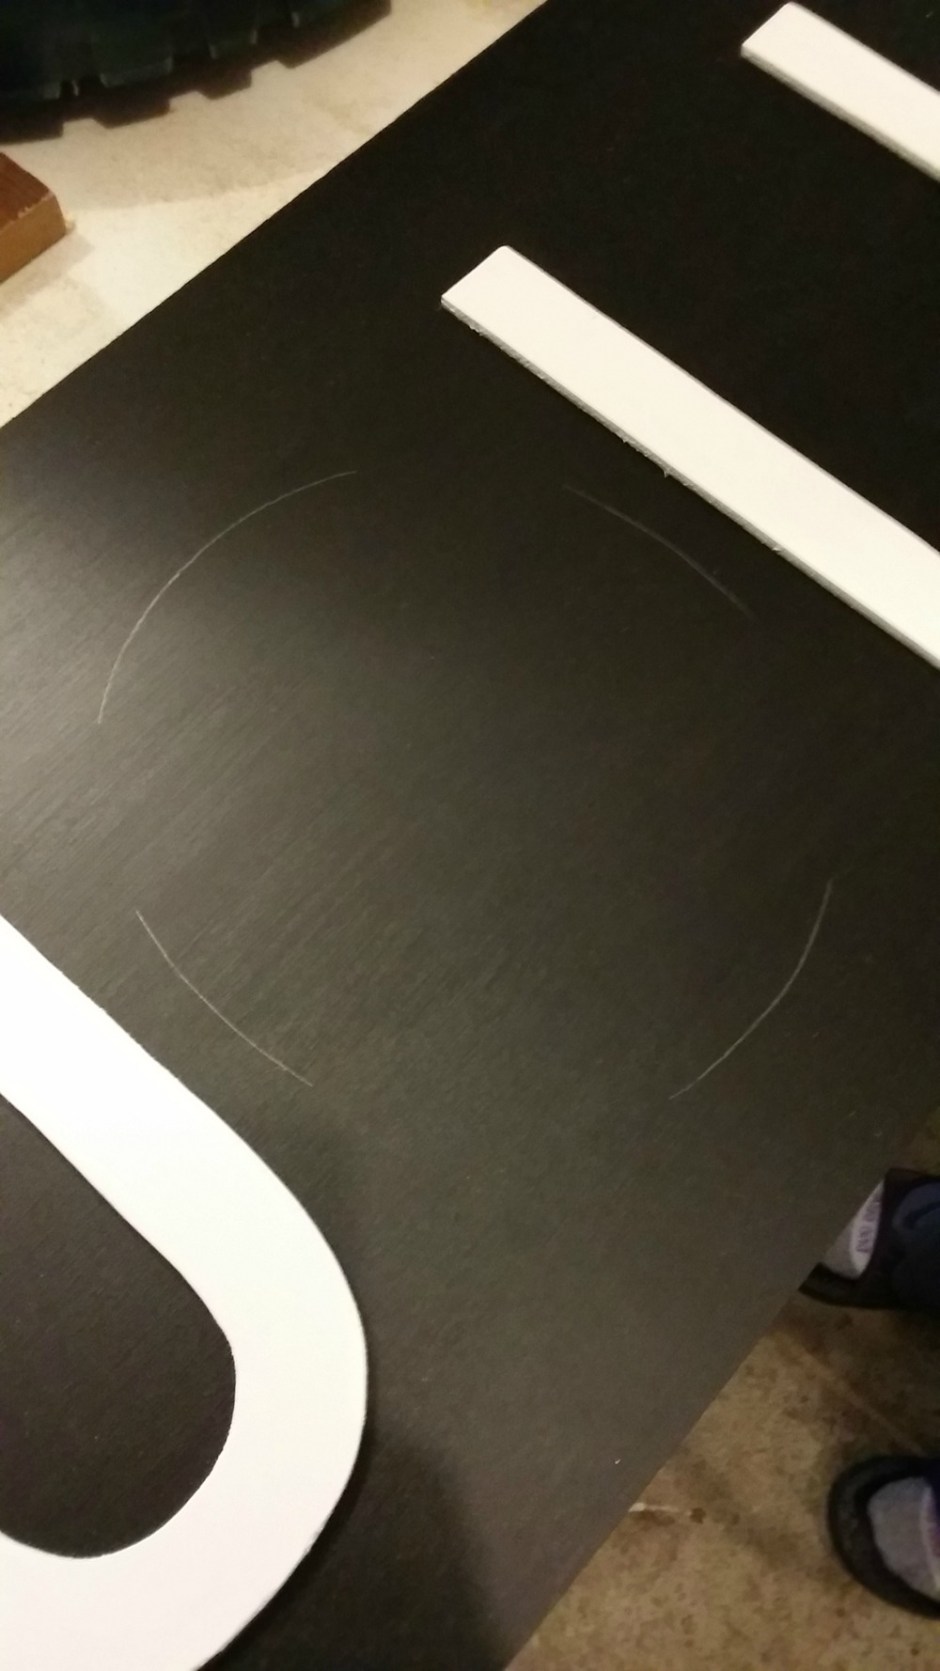
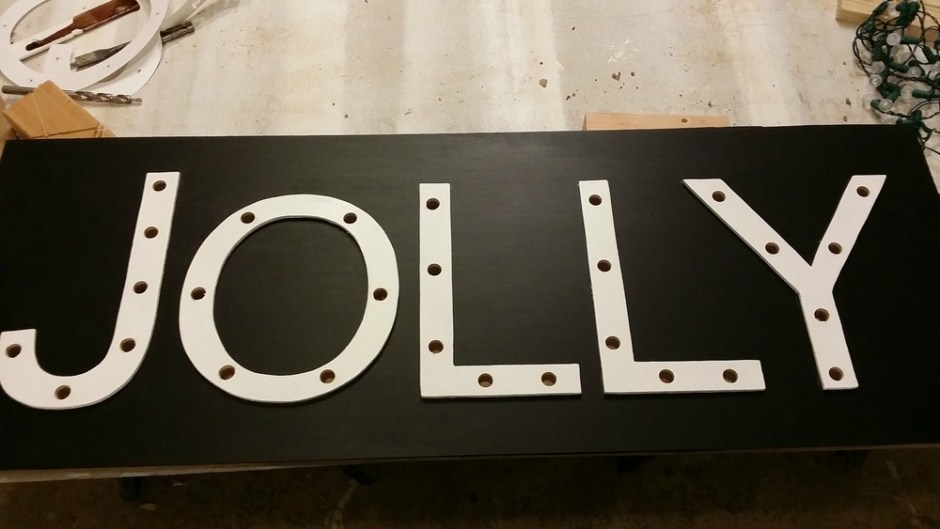
Once the paint is dry, evenly space your letters. Lightly trace around them with pencil so you know where to replace them after adding construction adhesive to the back. Apply enough construction adhesive to hold the letter but not so much that it would ooze out the sides. The letters are light so it doesn’t take much. You could also nail your letters at this point unless you want a cleaner look with the adhesive.
Here’s the sign before it was drilled.
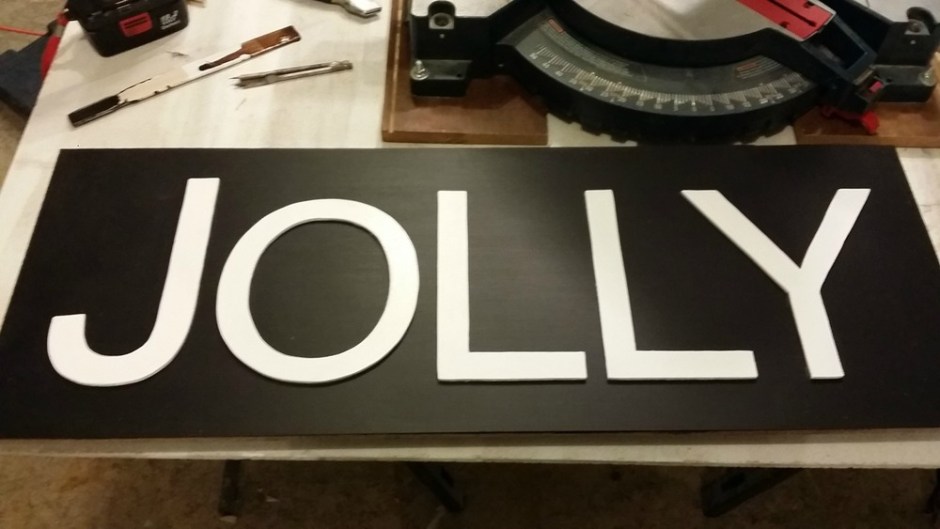
Figure out how many lights you have then evenly space them on each letter.
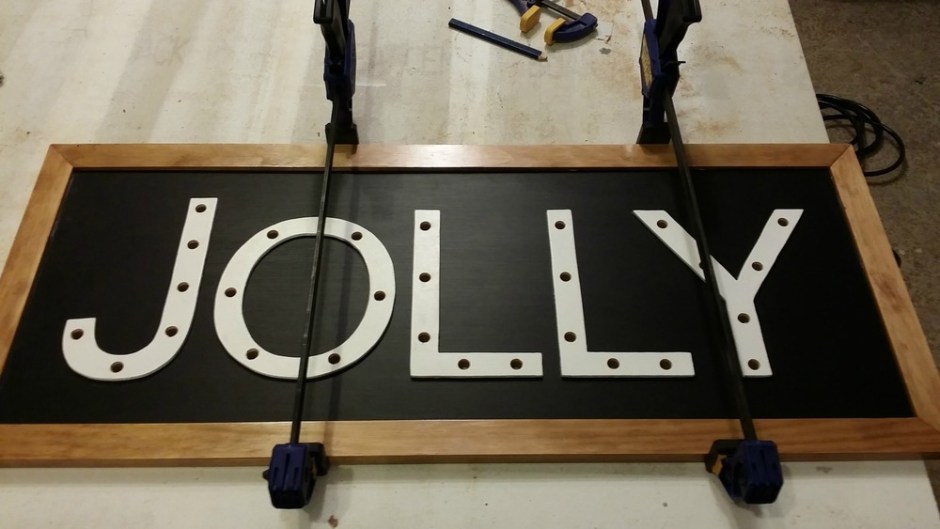
You can also add a nice frame. We recommend staining the edges with Minwax’s Polyshades in Antique Walnut. When that is dry, apply the border with construction adhesive. Added a few Brad nails to the corners to make sure everything is snug.
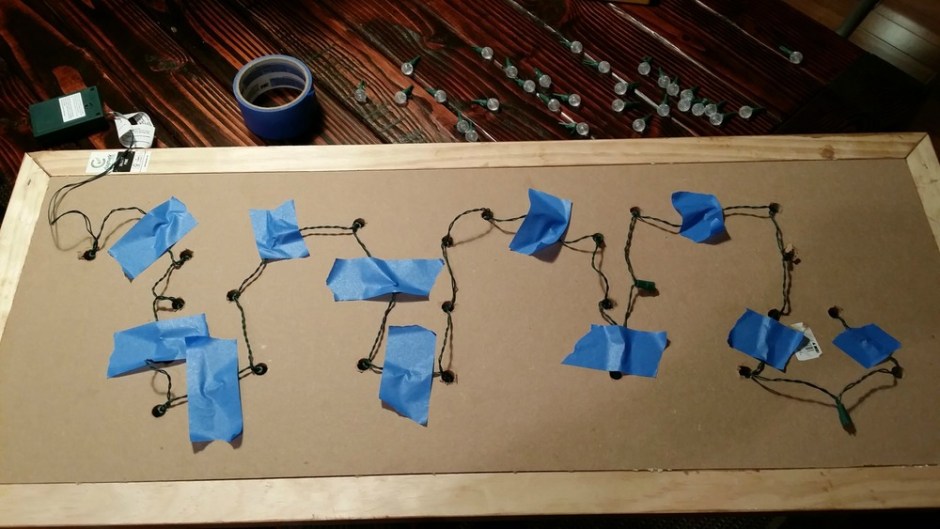
Shove the lights through the holes (you may have to remove the bulbs to slide each light through the holes. No big deal). I taped the wires on the back to hold the lights in place. Painter’s tape will hold up just fine but Duct tape would probably work better.


Source: http://decorandthedog.net/

Leave a comment